


Hot Foiling for Beginners | Simple Christmas Cards & Tags: Weekly Class To Go

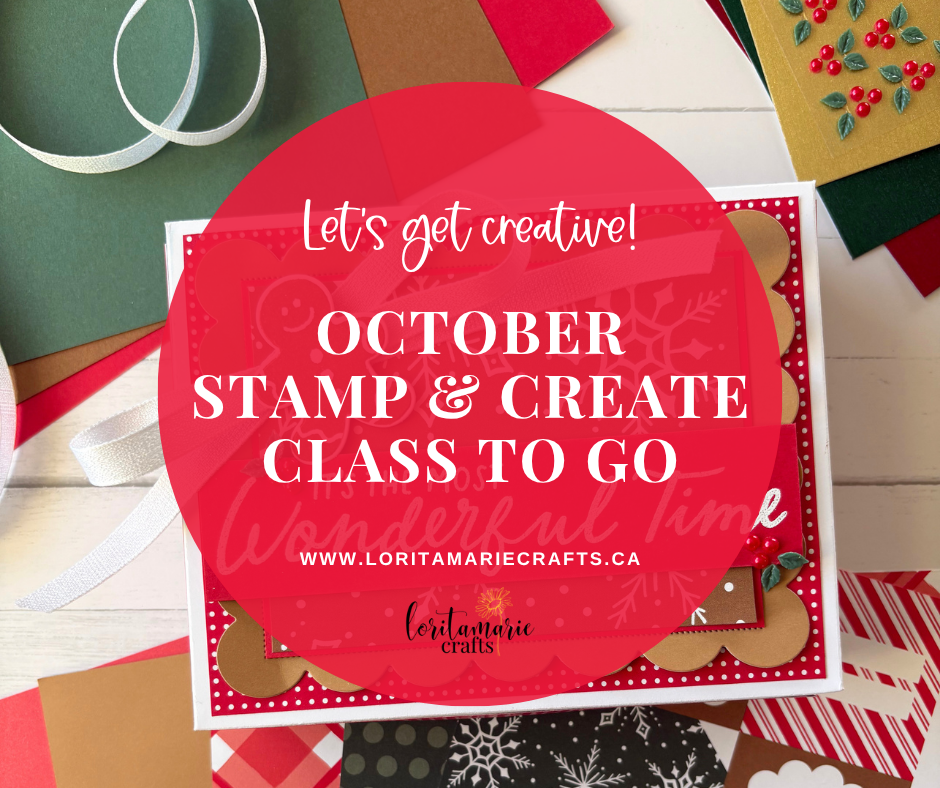
I’ve been wanting to try Stampin’ Up!’s new Hot Foil System, and these Christmas sentiments were the perfect place to start! For this week’s projects, I paired the Magical Christmas Hot Foil Dies with Creative Celebrations Specialty Designer Series Paper to make a coordinating set of Christmas cards and tags.
The sentiments are such a fun mix of lettering styles, and I love that you can foil them all at once, then cut them out in one pass through your die-cutting machine. That gives you a whole little collection ready to use!
Since I was trying something new with the foiling, I kept the card and tag layouts simple. A few layers of pretty patterned paper let those shiny sentiments stand out without needing lots of extra details.
Keep reading for a closer look at the projects, plus the full step-by-step video. If you’re new to hot foiling too, I’ll walk you through the basics as we create together!

Cards
The inspiration for all the projects this week was the 'Magical Christmas' Hot Foil Dies. With one pass through, you get 7 super cute Christmas sentiments! I used the Red Hot Foil Rolls and was looking for a perfect companion to the colour and decided on the 'Creative Celebrations' Specialty DSP.
This cute Christmas paper makes it easy to mix & match patterns and have die cut images to add a little fun to your card.
Be sure to give something for your sentiment to sit on to help it stand out against the patterned paper.
Save these layout ideas for your favourite paper this holiday crafting season. They are easy to copy and make more than 1 of!
Looking for how to use the Hot Foil System? Catch the replay of my YouTube Live below.
Christmas Gift Tags
The 'Creative Celebrations' Specialty DSP also allows you to easily make a stack of gift tags.
Simply cut your favourite tag shapes out of the DSP.
Choose one of the die cut images to match.
Add your favourite hot foiled sentiment!
Be sure to grab some 'Multicolor Christmas' Baker's Twine on your next order. It is perfect for tags! (Scroll below for a button to see a full supply list).
Bring the Crafty Fun Home — Free Class To Go Details
If you’d like to make these projects yourself:
You can place a qualifying order with me between Thursday, October 15th and Wednesday, October 22nd and you’ll get my Magical Christmas Kit for free — my thank you for crafting with me!
This kit includes all the paper cut & prepped to make the 2 cards and 4 tags (and the Kit includes the Hot Foiled Sentiments!) , plus a handmade card from me! You’ll just add your own stamps, inks, and adhesives. (No stamped images included, per Stampin’ Up!® policy.)
How it works:
Place a $50+ order to receive the free card kit with local pickup.
Place a $65+ order to have your free kit mailed to anywhere in Canada.
Orders close Wednesday, October 22nd, and I’ll mail the kits by the end of the following week. Then we start fresh every Thursday at 12 PM MT with a brand new class and set of projects to inspire you!
Don’t forget, if you’re on my email list, you’ll get a free Friday PDF with all the measurements for this week’s cards so you can easily recreate them.💌 Sign up here
💛 Have you heard about the Product of the Month?
Spend $100 and you can add Stampin’ Up!’s Product of the Month for only $7.
Click here to see this month's Product of the Month. Available while supplies last!
New Product coming Tuesday, October 6th! (Shining Stars Dies!)

YouTube Replay:
Thanks for hanging out with me here and happy crafting!




Comments